UPDATES
CONTINUED
earlier
29 MARCH 2003
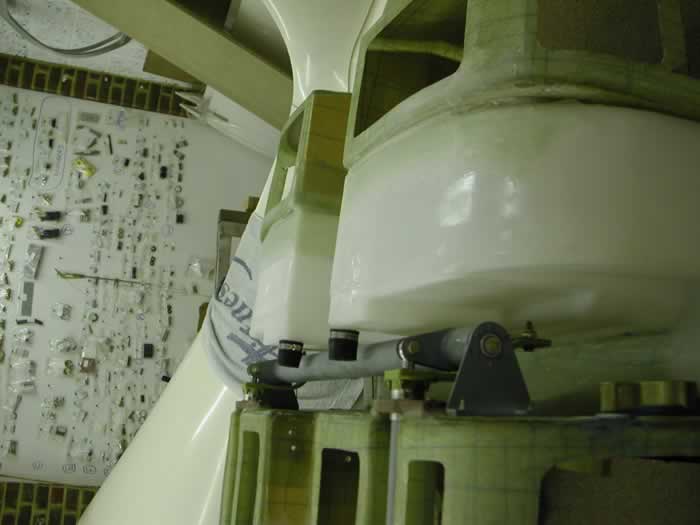
Peter enlisted the help of his friend Richard to
do the very tricky lay up of brackets which keep the fuel tank in place.
The trick seemed to be more about getting into the right frame of mind
because although it looked very difficult it turned out to be quite straightforward.
The finished fuel tank. tilt your
head to the left to see it properly
|
3 APRIL 2003
Made up the spacers for the fuel tank then went
out for a curry to get the taste of epoxy resin from our mouths.
5 APRIL 2003
A glorious day so we decided to assemble the wings
into the cockpit module in Peter's garden in order to check that the fuel
tank spacers don't foul the wing spars. Just as well that we did this,
because if we had bonded the spacers into the position we originally planned
we would never have been able to get the wings on the plane. Even Ian
understood the serious aerodynamic consequences this would have.
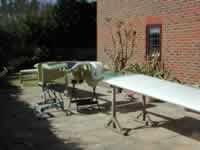
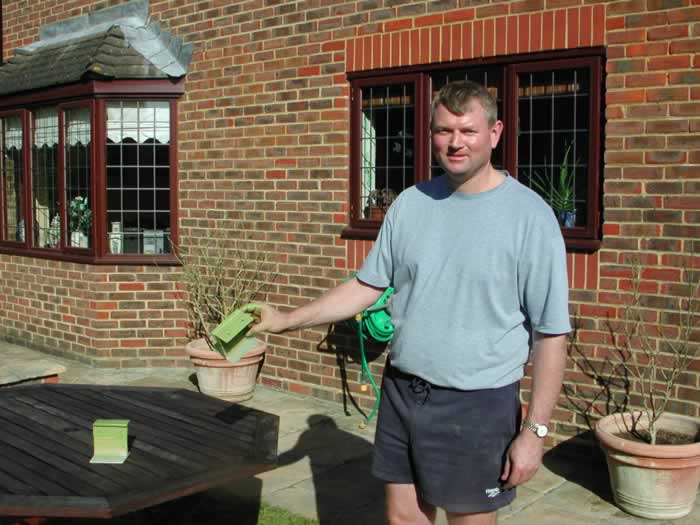
This is what gardens are for!
|
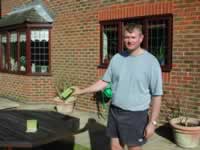
Peter showing off his green fingers
|
10 APRIL 2003
Peter started on the wings. Cut the slots for the
flap hinges.
12 APRIL 2003
We both worked on the wings, doing the rib reinforcements.
This is what they look like inside:
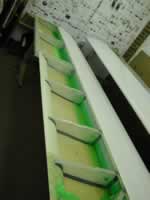
The wing reinforcements all nicely
wrapped in peel ply
|
14 to 30 APRIL
Ian was involved in some proper paid work for a
few weeks so could only work on the project one day a week. Peter seemed
to think this was enough because all of the lay ups done by Ian had air
bubbles which Peter had to repair. But Peter also had to repair the nice
slots he put in the wrong place for the flap hinges, and promised to read
the instructions next time.
Unfortunately, the lay ups done by Peter also had air bubbles, so we held
a board meeting and decided that we we were both getting the technique
a bit wrong. We did some more lay ups by applying one layer at a time
and this seems to have succeeded.
27 APRIL 2003
Peter popped into the workshop to check the quality
of the previous day's lay ups. He ripped off the peel ply (a very satisfying
part of the operation - and a job reserved for Peter), but unfortunately
he simultaneously ripped his finger along the razor sharp unfinished edges
severing several arteries and making a bloody mess all over the wing.
Ian wins the bet over who would be the first to need our new first aid
kit.
1 MAY 2003
Worked on the inspection hatch for the aileron bell
crank. Peter lapsed into his old habit of not reading the instructions
and created a lovely hole...in the wrong place. He spent the rest of the
evening repairing it. We had a very unwholesome curry in the local tandoori,
but the Kingfisher beer cleared out the taste of resin.
3 MAY 2003
Continued working on the wings.
7 MAY 2003
Peter's repair to the inspection hole had set, so
Ian completed the job, then started on the pitot assembly. This involves
cutting another hole in the wing. So as not to let Peter think he is the
only one who can't read instructions, Ian cut this hole in the wrong place!
Spent the rest of the day repairing it.
10 MAY 2003
We both worked on fitting the port aileron. It took
ages to file all the holes for the push rods. The aileron is supposed
to have a set minimum deflection up and down. Well, we managed to get
the down deflection OK, but not the up. This means we will be able to
turn right, but not left. We decided that we had two choices: either do
some more filing until it works properly, or restrict our flying to airfields
which operate right hand circuit patterns only. We will decide in the
next few days.
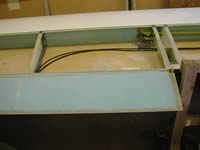
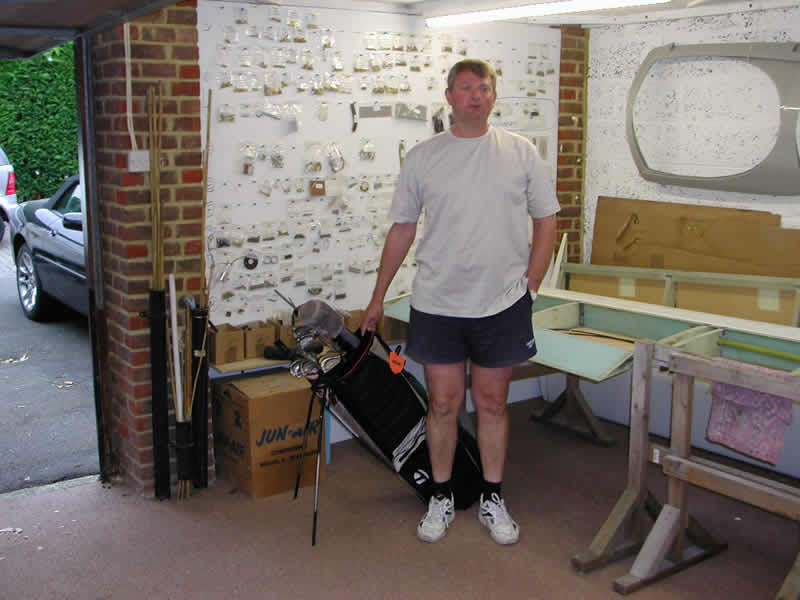
The almost fitted aileron |
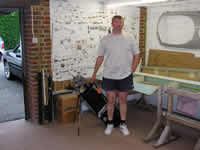
Peter with his favourite toys |
12 MAY 2003
Most airfields seem to have left hand circuit patterns
so we decided to get the aileron working properly. A bit of filing and
nurturing seemed to do the trick. We now get full deflection up and down.
later
|